Examples
Example 1: Main Workflow using DFTB+ for TCNQ on PC
The following example shows the primary workflow using dftb+ as the calculator run on a personal terminal (as opposed to a super computer).
First, create a folder containing the geometry file (.cif, .gen, .sdf, or .xyz). The folder used in this example, named TCNQ, can be downloaded from the Uploads Folder.
In the TCNQ folder, create the workflow parameters file, workflow_params.json, using the following command.
dcs workflow --get-params
Edit the workflow parameters file to match the following values.
{
    "krelax": [
        4,
        4,
        2
    ],
    "fmax": 0.05,
    "geo": null,
    "calc": "dftbp",
    "T":5,
    "dim": [
        2,
        2,
        1
    ],
    "kforce": [
        1,
        1,
        1
    ],
    "mesh": [
        8,
        8,
        8
    ],
    "params": null,
    "task": 0,
    "e_unit": 0
}
The TCNQ folder, or current directory, now has the structure file (tcnq.cif) and the edited parameters file (workflow_params.json). Use the following command to begin the calculation:
dcs workflow
Once the job has completed, the following files can be found in the TCNQ folder.
1-optimization      3-oclimax       err.out         run_tcnq.py
2-phonons       out.out         workflow_params.json
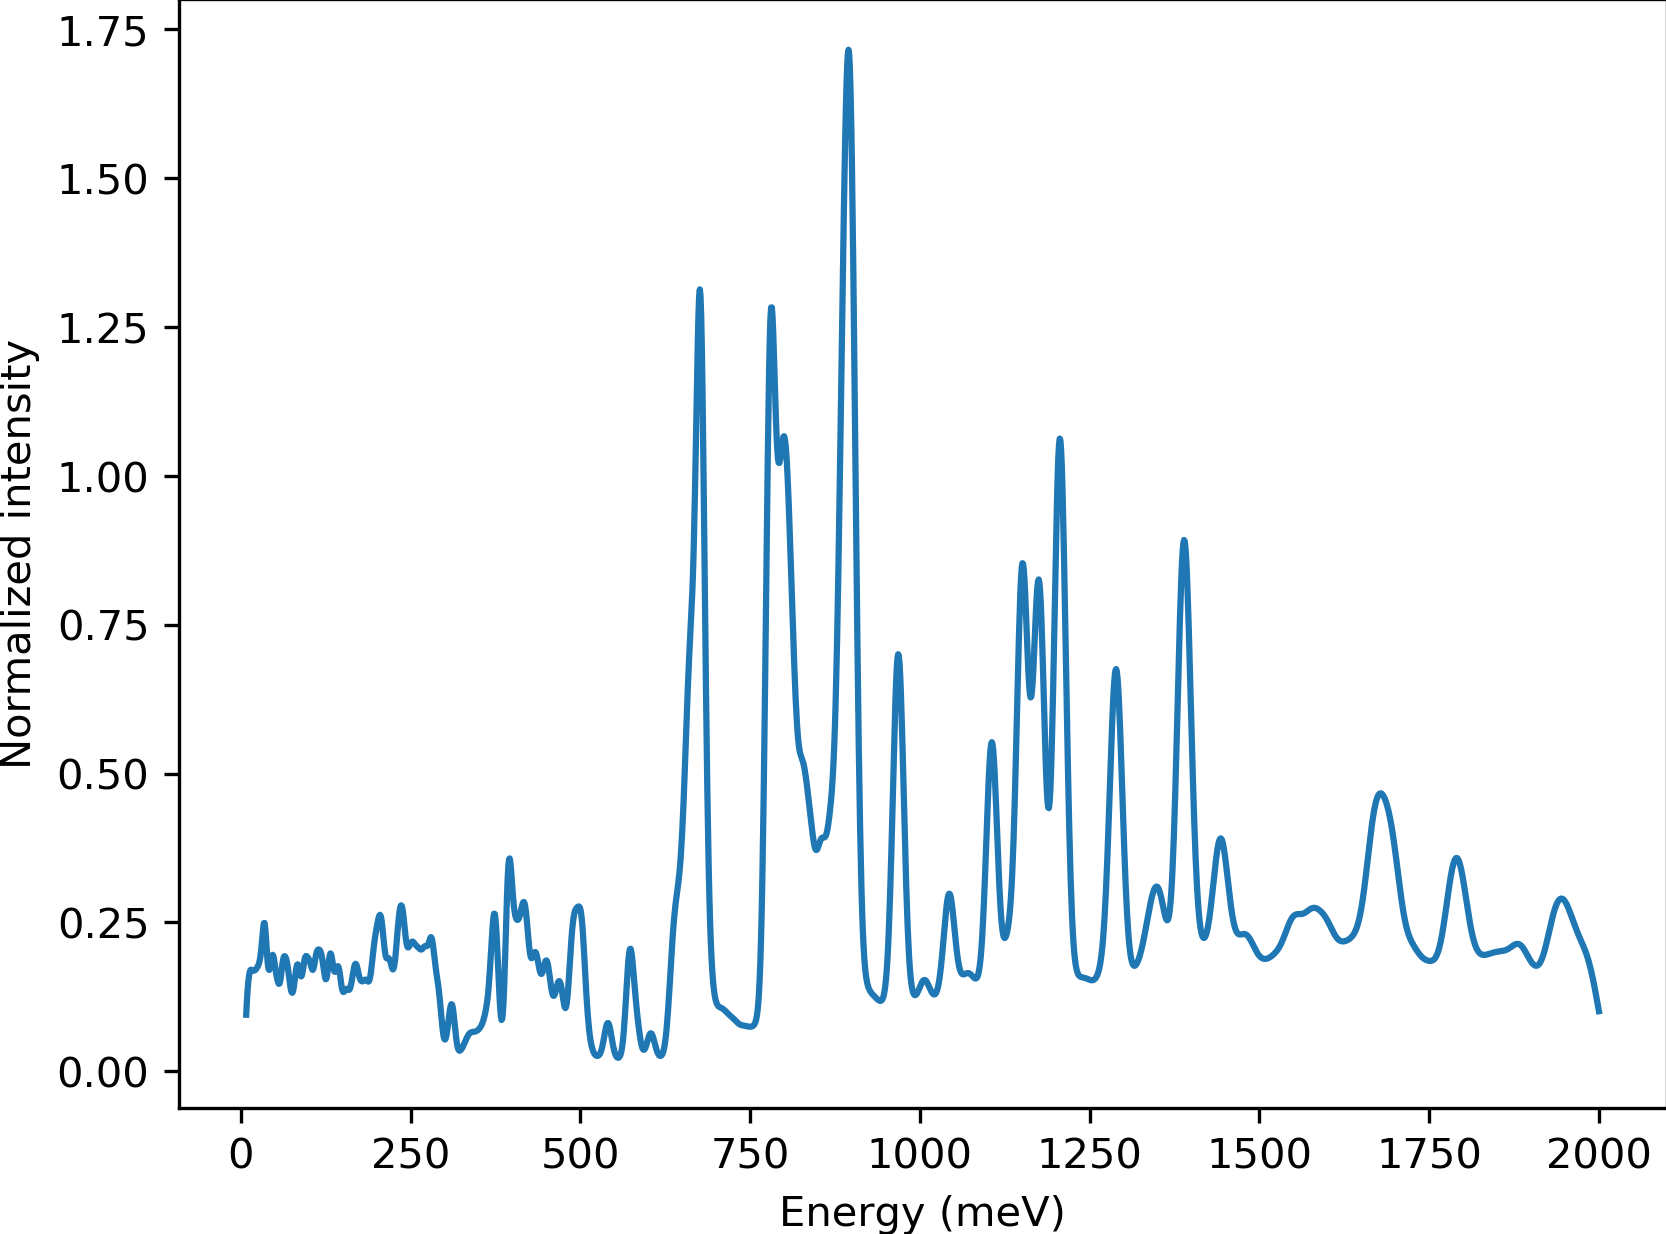
Open the 3-oclimax folder and click on the png file to view to INS specta.
Example 2: Main Workflow using DFTB+ for TCNQ on NERSC
The following example shows the primary workflow using dftb+ as the calculator using the NERSC super computer.
First, there is no need to install the DCS-Flow package and its dependencies. Just access the super computer via the terminal, and load the DCS module using the following commands:
module use /global/common/software/m2734/DCS/modulefiles
module load dcs
You can add these commands to your bashrc file in your NERSC home folder to load the DCS module every time you access NERSC.
Create a folder containing the geometry file (.cif, .gen, .sdf, or .xyz) and a run_tcnq.py bash script (for NERSC). This folder, named TCNQ, can be downloaded from the Uploads Folder.
Upload the TCNQ folder to NERSC using a file transfer software like Globus.
Inside the TCNQ directory, create the workflow parameters file, workflow_params.json, using the following commands.
cd TCNQ
dcs workflow --get-params
Edit the workflow parameters file to match the following values.
{
    "krelax": [
        4,
        4,
        2
    ],
    "fmax": 0.05,
    "geo": null,
    "calc": "dftbp",
    "T":5,
    "dim": [
        2,
        2,
        1
    ],
    "kforce": [
        1,
        1,
        1
    ],
    "mesh": [
        8,
        8,
        8
    ],
    "params": null,
    "task": 0,
    "e_unit": 0
}
The TCNQ folder, or current directory, now has the structure file (tcnq.cif), the edited parameters file (workflow_params.json), and the run script (run_tcnq.py.). The run_tcnq.py bash script contains information for the NERSC super computer such as number of allocated nodes, processors and run hours. The final lines contain the commands to be evaluated, in this case eval $'dcs workflow'.
Submit the job and check it’s progress using the following commands:
sbatch run_tcnq.py
sqs
Once the job has completed, the following files can be found in the TCNQ folder.
1-optimization      3-oclimax       err.out         run_tcnq.py
2-phonons       out.out         workflow_params.json
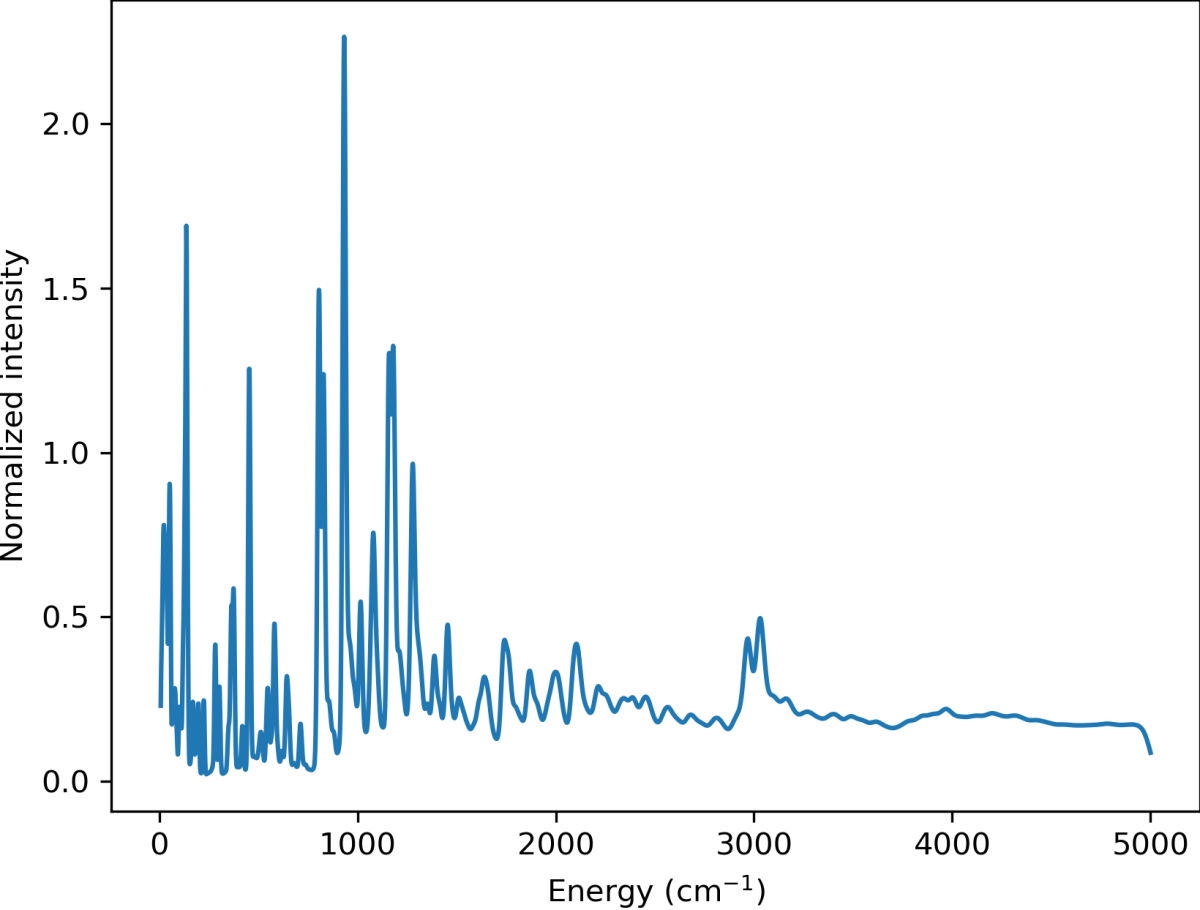
Use a file transfer software like Globus to transfer the wanted files to your personal computer. Open the 3-oclimax folder and click on the png file to view to INS specta. The resulted INS spectrum will be the same as simulated in the example before.
Example 3: Training and Main Workflow for TTF-TCNQ
The following example walks through the training workflow, with ChIMES, using the NERSC super computer.
First access the super computer via the terminal, and load the DCS module using the following commands:
module use /global/common/software/m2734/DCS/modulefiles
module load dcs
Create a folder containing the geometry file (.cif, .gen, .sdf, or .xyz) and a run_tcnq.py bash script (for NERSC). This folder, named TTF-TCNQ, can be downloaded from the Uploads Folder.
Upload the TTF-TCNQ folder to NERSC using a file transfer software like Globus.
Inside the TTF-TCNQ directory, generate the training parameters file, train_params.json, using the following commands:
cd TTF-TCNQ
dcs train --get-params
Edit the training parameters file to match the following values.
{
    "krelax": [
        6,
        6,
        6
    ],
    "fmax": 0.05,
    "geo": null,
    "calc": "castep",
    "optgeo": null,
    "T": 5,
    "md_size": [
        1,
        1,
        1
    ],
    "steps": 5000,
    "time_step": 1,
    "dump_interval": 100,
    "trajfile": null,
    "b2": 12,
    "b3": 8
}
The TCNQ folder, or current directory, now has the structure file (TTF-TCNQ.cif), the edited parameters file (train_params.json), and the run script (run_ttf-tcnq.py.). The run_ttf-tcnq.py bash script contains information for the NERSC super computer such as number of allocated nodes, processors and run hours. The final lines contain the commands to be evaluated, in this case eval $'dcs train.
Submit the job and check it’s progress using the following commands:
sbatch run_ttf-tcnq.py
sqs
Once the job has completed, the following files can be found in the TTF-TCNQ folder.
0-train         err.out         run_ttf-tcnq.py         params.txt
TTF-TCNQ.cif        out.out         train_params.json
Once the training has successfuly run, create a workflow parameters file in the TTF-TCNQ folder using the following commands.
dcs workflow --get-params
In the workflow parameters, edit the calculator to chimes and change the default parameters as follows:
{
    "krelax": [
        4,
        4,
        2
    ],
    "fmax": 0.05,
    "geo": null,
    "calc": "chimes",
    "T":5,
    "dim": [
        2,
        2,
        1
    ],
    "kforce": [
        1,
        1,
        1
    ],
    "mesh": [
        8,
        8,
        8
    ],
    "params": null,
    "task": 0,
    "e_unit": 0
}
The TTF-TCNQ folder, or current directory, now has the structure file (TTF-TCNQ.cif), the chimes output (params.txt), the edited parameters file (workflow_params.json) and the run script (run_ttf-tcnq.py.). The final lines of the run script should contain the commands to be evaluated, in this case eval $'dcs workflow'.
Submit the job and using the following commands:
sbatch run_ttf-tcnq.py
Once the job has completed, the following files will be added to the TTF-TCNQ folder.
1-optimization      3-oclimax
2-phonons
Use a file transfer software like Globus to transfer the wanted files to your personal computer. Open the 3-oclimax folder and click on the png file to view to INS specta.